


Faking a Tilt Shift Effect Using Alien Skin Software
Filed under:
Disclosure: This post may contain affiliate links, meaning I get a commission if you decide to make a purchase through my links, at no cost to you.

There is nothing I love more than a good, dreamy photo! A couple of years ago I decided a tilt shift lens just had to be my dream lens with all the magical blur and focus it would allow me to play with as I photographed. Being an impulsive person I bought it right away and then it sat in my office for a good year, untouched. I was so scared of all those knobs! Finally, one day I decided it was time. I watched a quick youtube video and then, at last, fell completely in love.
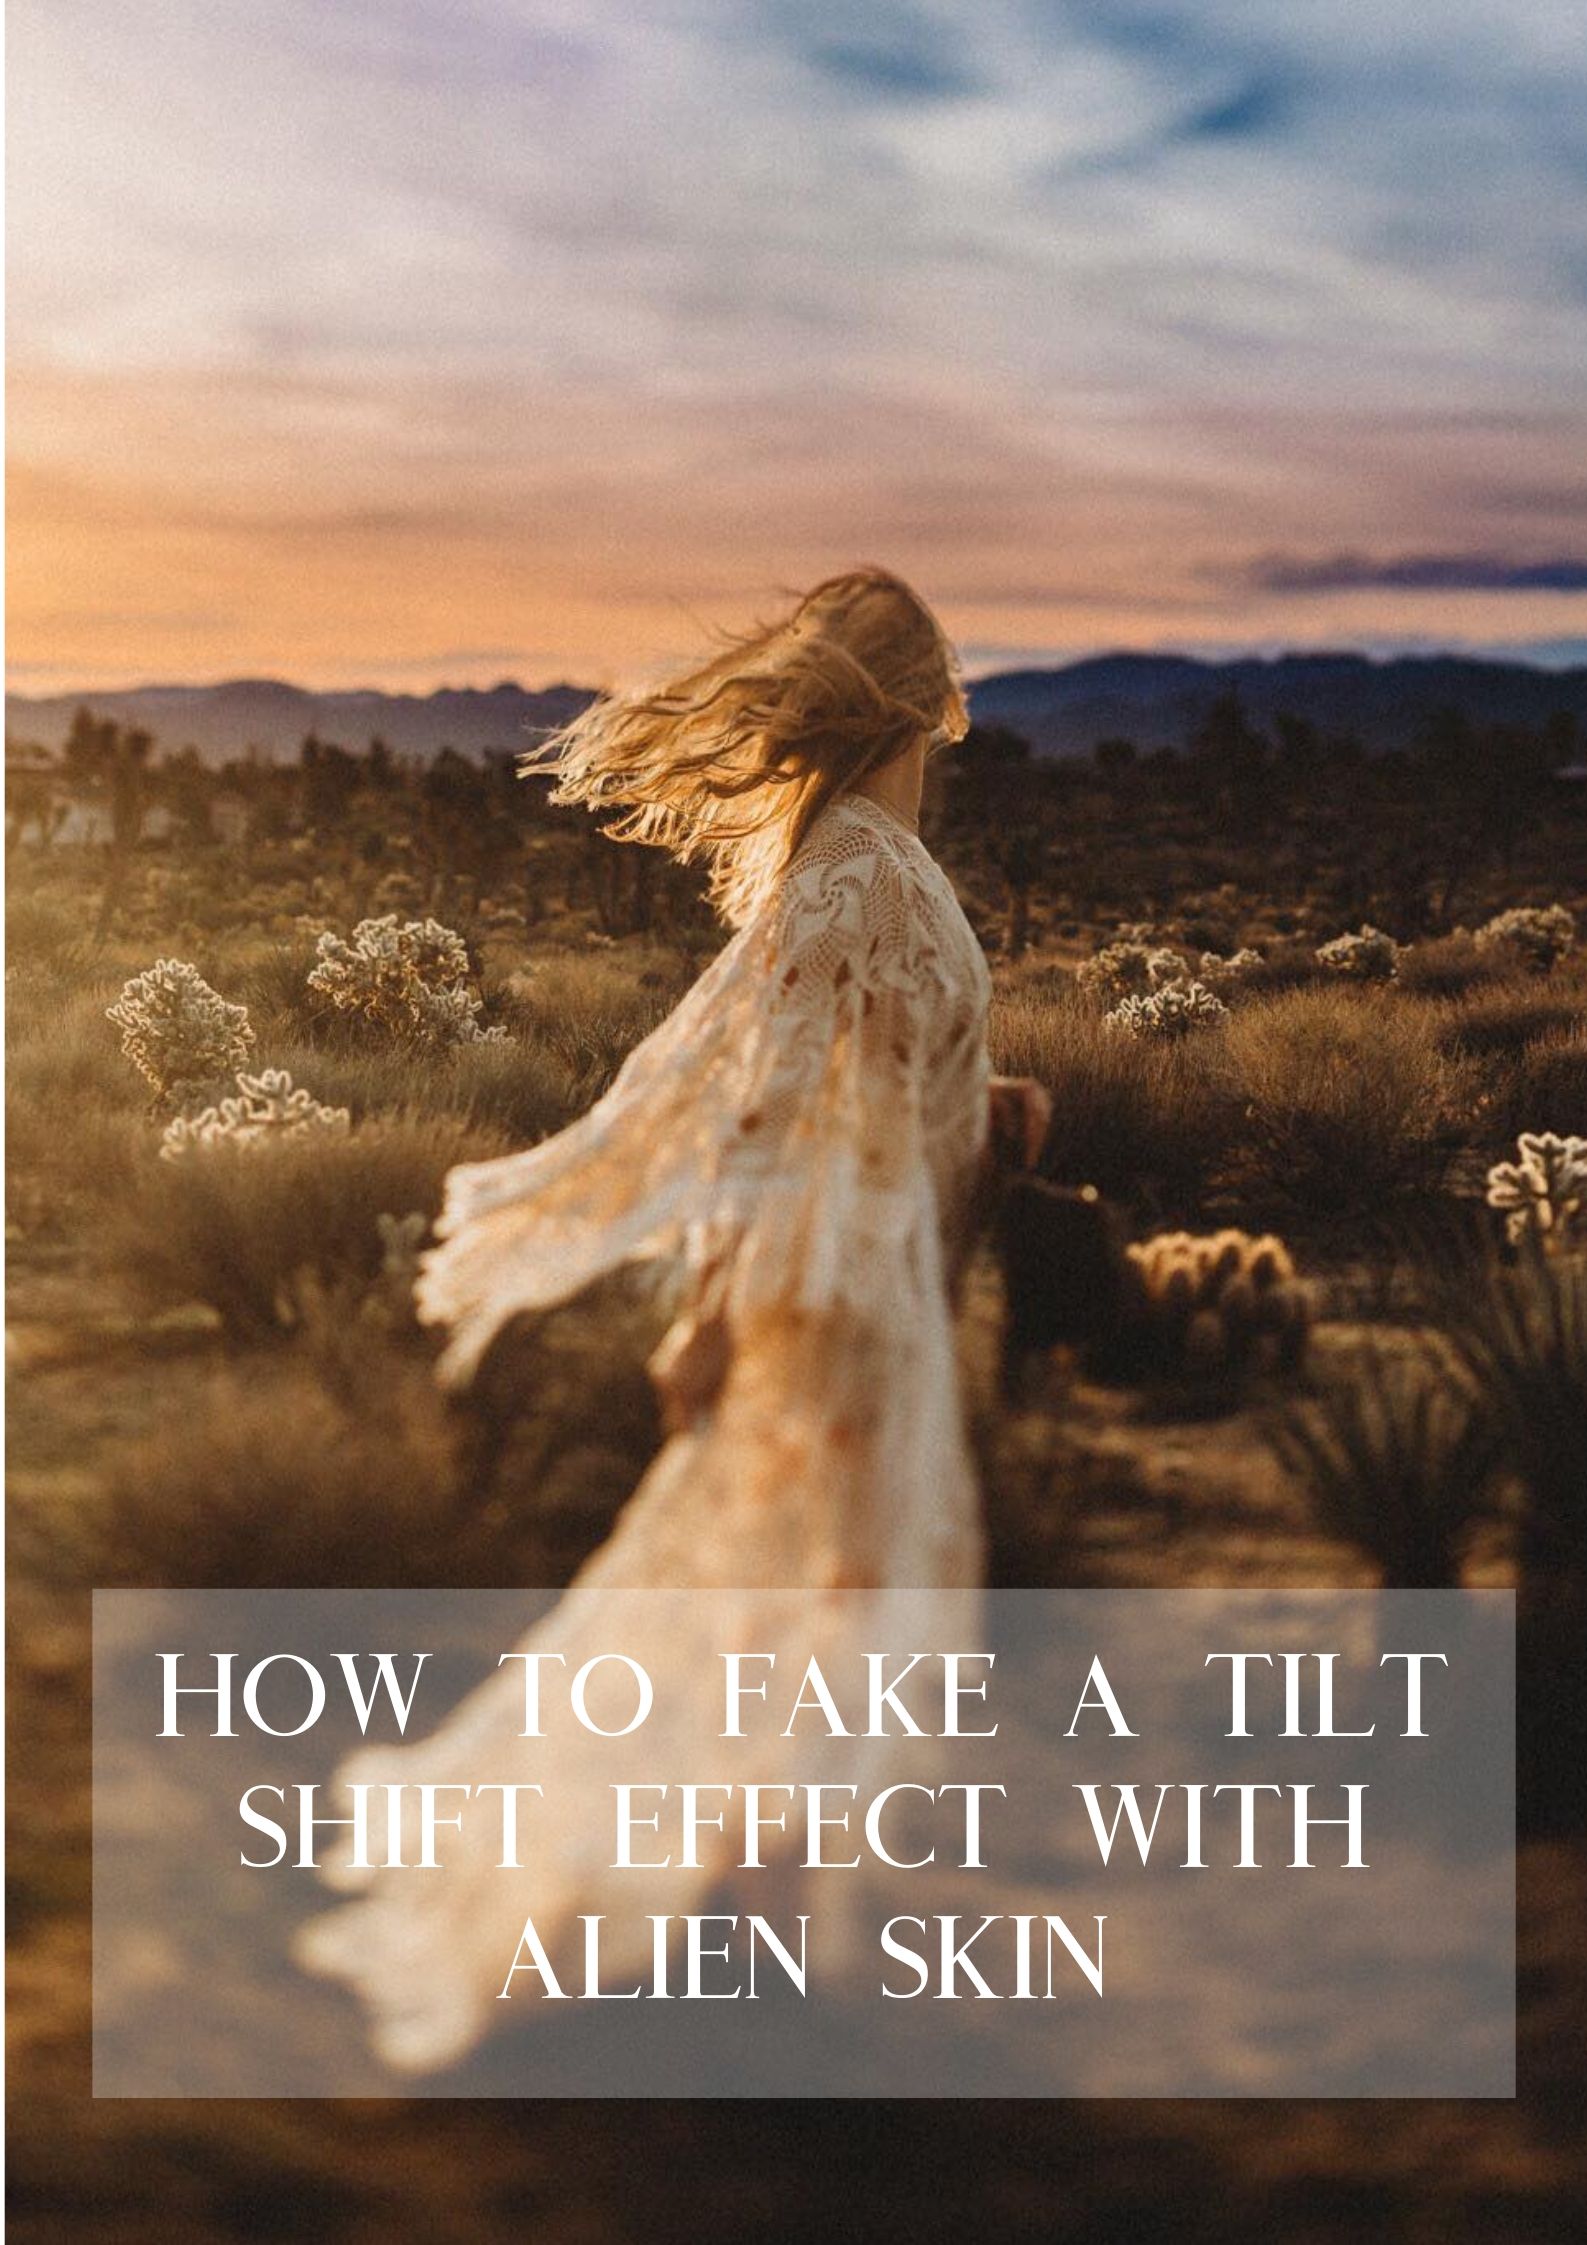
For those of you not so impulsive, I wanted to show a quick and easy way to add a tilt shift effect to your images using Alien Skin! You can try a free trial of the software here! I don’t usually use my tilt shift during big family sessions (it’s so hard to keep all those heads at different heights in focus!) so using the trick in Alien Skin works perfectly if I just want to apply the effect to a handful of images.
Watch the video below to see how I do it!
If you love the edits in this video or just want to learn more about editing in lightroom, you can check out my editing course Embracing the Storm. All the raw files to the images I used in this video come with the course and I teach you how to edit them all by hand walking you through every module in lightroom!


